Fennel Hudson was once quoted to say that cooking and eating outdoors makes food taste infinitely better than the same meal prepared indoors.
While much of what he says pertains to food, the same sentiment can be applied to coffee. Indeed, coffee prepared in artisan coffee shops and cafes pales in comparison to a fresh pot of brew prepared outdoors with the great and verdant mountains as your kitchen. Unfortunately, coffee purists would maintain their stance and argue that coffees are best enjoyed when they are prepared with all the necessary tools available at their disposal. As it is, preparing coffee outdoors means that you are limited to the resources you already brought to the campsite with you. However, this does not mean that preparing coffee at camp will give you a subpar brew. With plenty of outdoor brewing tools available today, you can now enjoy your favorite brew at camp.
More importantly, coffee cups such as Rivers Bearl Coldbrew and Rivers Cold Brew make it easy for campers to prepare coffee at camp sans the hassle.
So, if you have always wanted to craft the perfect cup of outdoor Joe and mirror the ones you can brew at home, below are some of the best-known techniques:
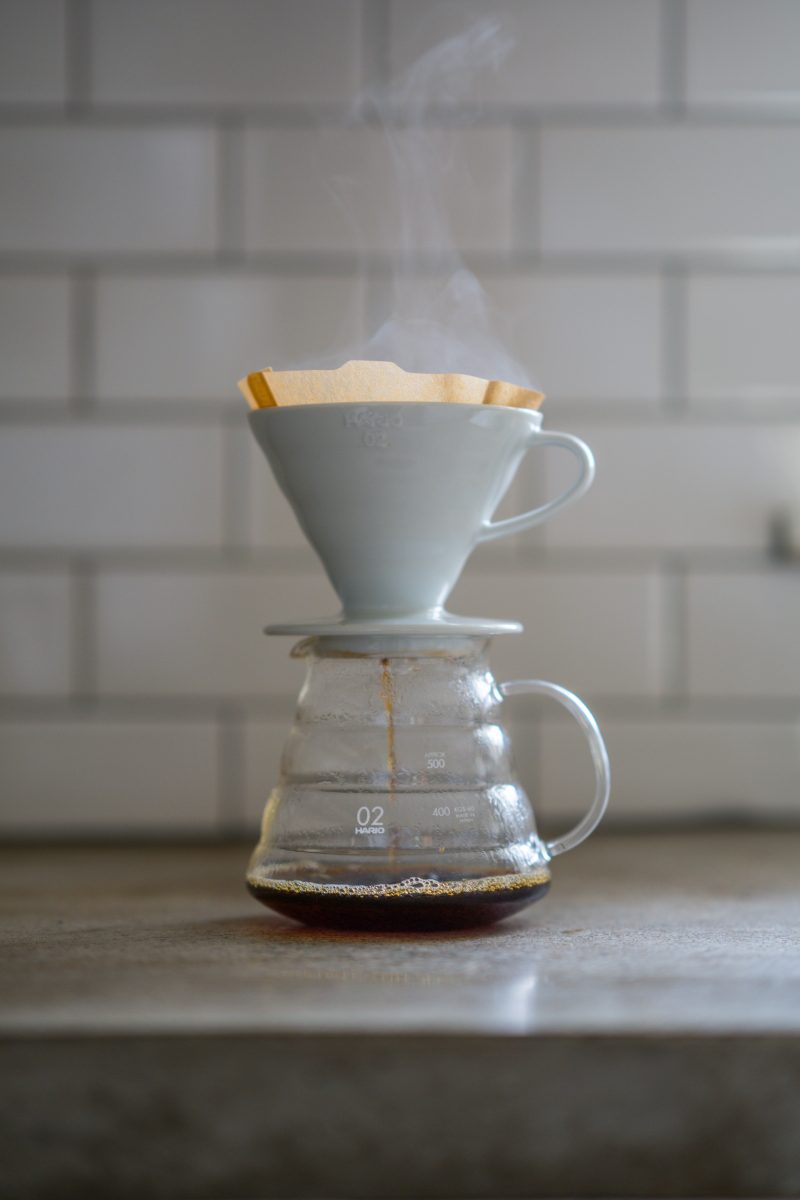
1.) Pour Over
Pour-over coffee is a simple and straightforward technique to prepare your cup of Joe outdoors. It is ideal for solo campers or if you just wish to get lost in the art of making your brew. Be warned, though, this process requires some patience as well as the correct kit. To begin, make sure you have a portable grinder such as Rivers Coffee Grinder Kit. Also, bring with you a packable, lightweight kettle or at least have a high-efficiency way to boil water like a stove from Kovea. From there, add a couple of tablespoons of fine-to-medium, hand-ground beans to your preferred pour-over method with some hot water. Then, let it percolate into the mug below.
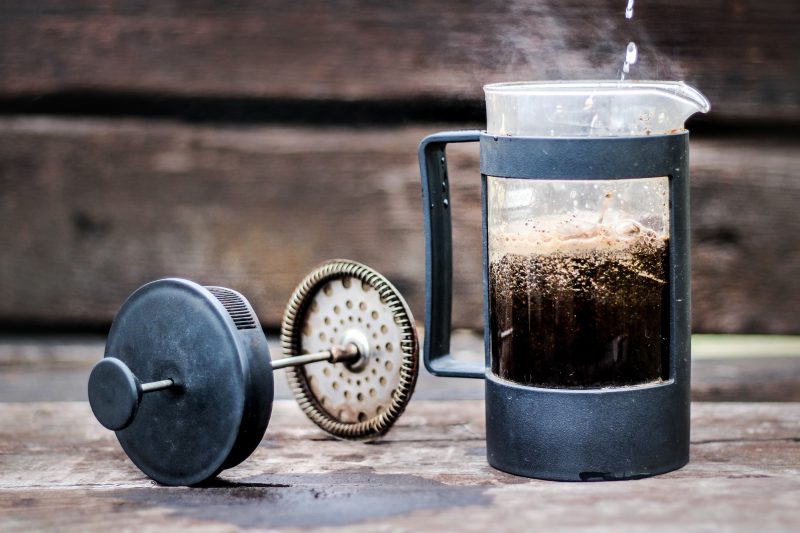
2.) French Press
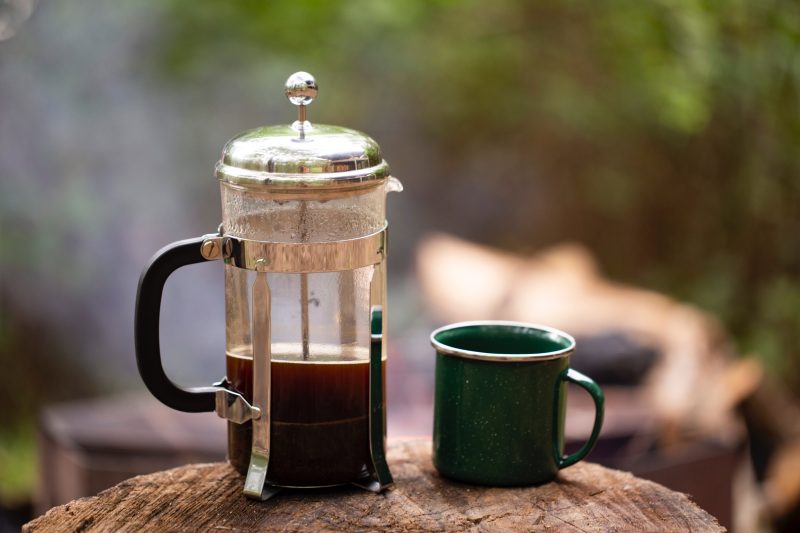
Perhaps the simplest way to prepare your coffee outdoors is to use a French press. More importantly, French press options are commercially and widely available that you would not have a hard time looking for an ideal one to bring outdoors. Just like how you would prepare your French press coffee at home, simply add the grounds, plunge, and then pour. Simple, easy, and convenient. A little caveat, however, as this method uses more grounds than the pour-over method. That said, you will need to carry more coffee beans with you to camp.
3.) Moka Pot
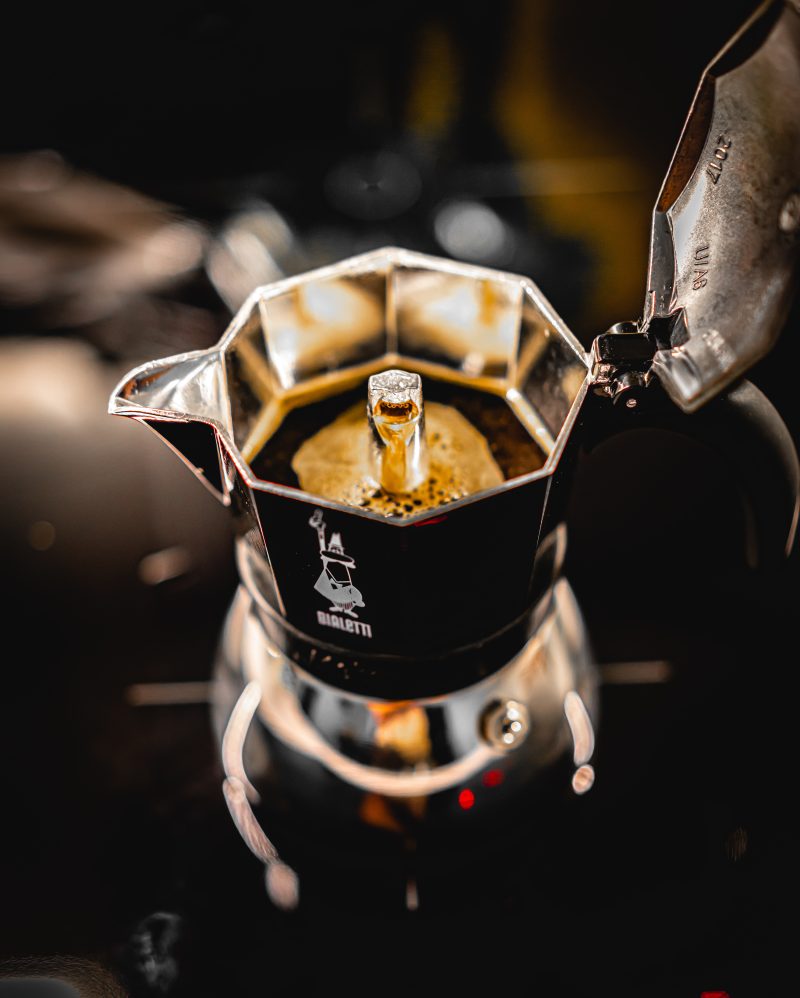
Preparing camp coffee via Moka Pot requires you to grind the coffee beans finely to ensure you have a nice espresso extraction. From there, simply pour water into the base of your Moka Pot and then add the grounds into the basket above it. Put it atop your portable stove and heat it until you can hear the espresso extracting in the top canister. Alternatively, you can time your brew at ten minutes and check whether the coffee is extracted correctly thereafter.
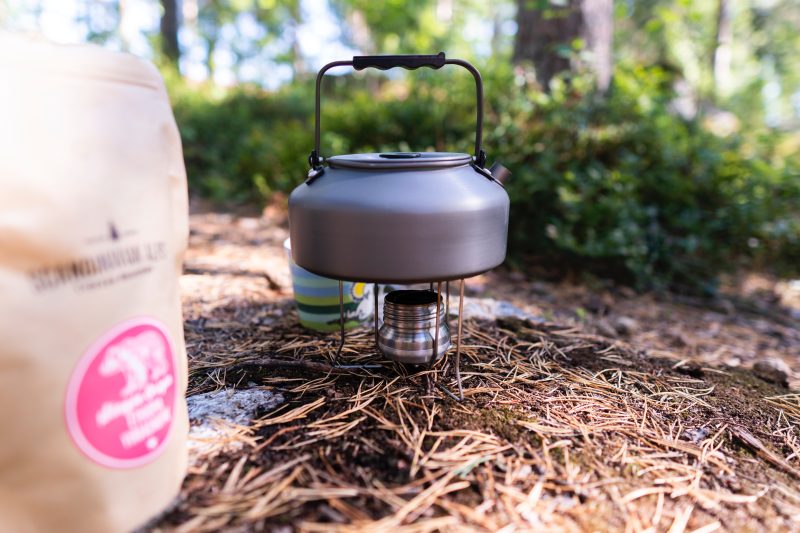
4.) Camp Cowboy Coffee
Known as the oldest and most traditional way to prepare coffee outdoors, cowboy camping coffee is simple and unencumbered by the modern coffee gadgets we possess today. All you need is a camping coffee pot, your favorite coarse ground coffee, a heat source (even the campfire’s hot coals will do), and your camping coffee mug. To prepare it, you just add cold water to your coffee pot and mix in 1 heaping tablespoon of coarse ground coffee per 1 1/2 cups of water. Apply heat until your desired brewing temperature is reached. Be careful not to let it reach a rolling boil, however. Remove it from the heat, and then add a shot (1oz or so) of cold water. Allow the grounds to settle (typically around five minutes or so) before pouring it into your coffee mug.
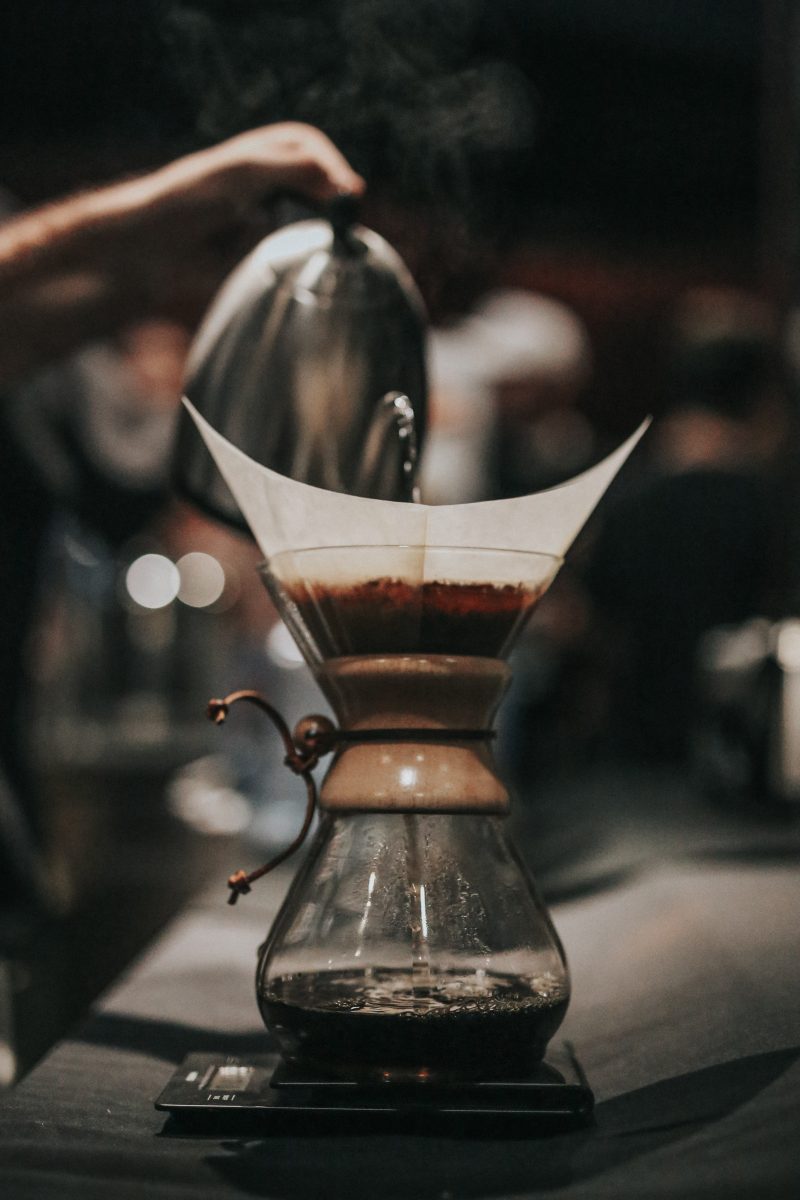
5.) Percolator Camping Coffee
Known as the brewing method of your grandparents’ camping coffee, the percolator camping coffee technique tends to be somewhat dry and just a bit bitter if not done right. However, if executed well, this brewing method produces a bold and hearty camping coffee. To prepare percolator camping coffee, you need a percolator, your favorite coarse ground coffee, a heat source (a campfire’s hot coals can be used, but a traditional camping stove is recommended for heat consistency), and your favorite camping coffee mug. Simply fill your percolator apparatus with cold water and fill the grounds basket with coarse coffee. For best results, scoop 1 heaping tablespoon into the basket for every cup of water. Then install the grounds cover and close the lid. Be sure that the siphon stem is aligned with the sight glass. Put it on medium heat until the first eruption of water is visible through the siphon in the sight class. From there, you can then lower the heat (or remove it totally from the fire) and continue to let it sputter. Once it is brewed to your satisfaction, remove the percolator and allow for a couple of minutes for the coffee grounds to settle before pouring and enjoying.
